As a dedicated Valorant player, I've spent countless hours mastering one of the game's most versatile agents: Sage. While many still pigeonhole her as a simple healer or a defensive anchor, I've come to realize that her Barrier Orb is the true key to unlocking her potential. In the dynamic meta of 2026, strategic wall placements aren't just helpful—they're game-changing. A well-placed barrier can shift a defensive stand into an aggressive push, create intel-gathering vantage points, and completely disorient the opposing team. Let me share the most impactful Sage wall boosts that have consistently turned the tide of my matches, transforming her from a support staple into a tactical powerhouse.
Ascent: Dominating B Main and Market
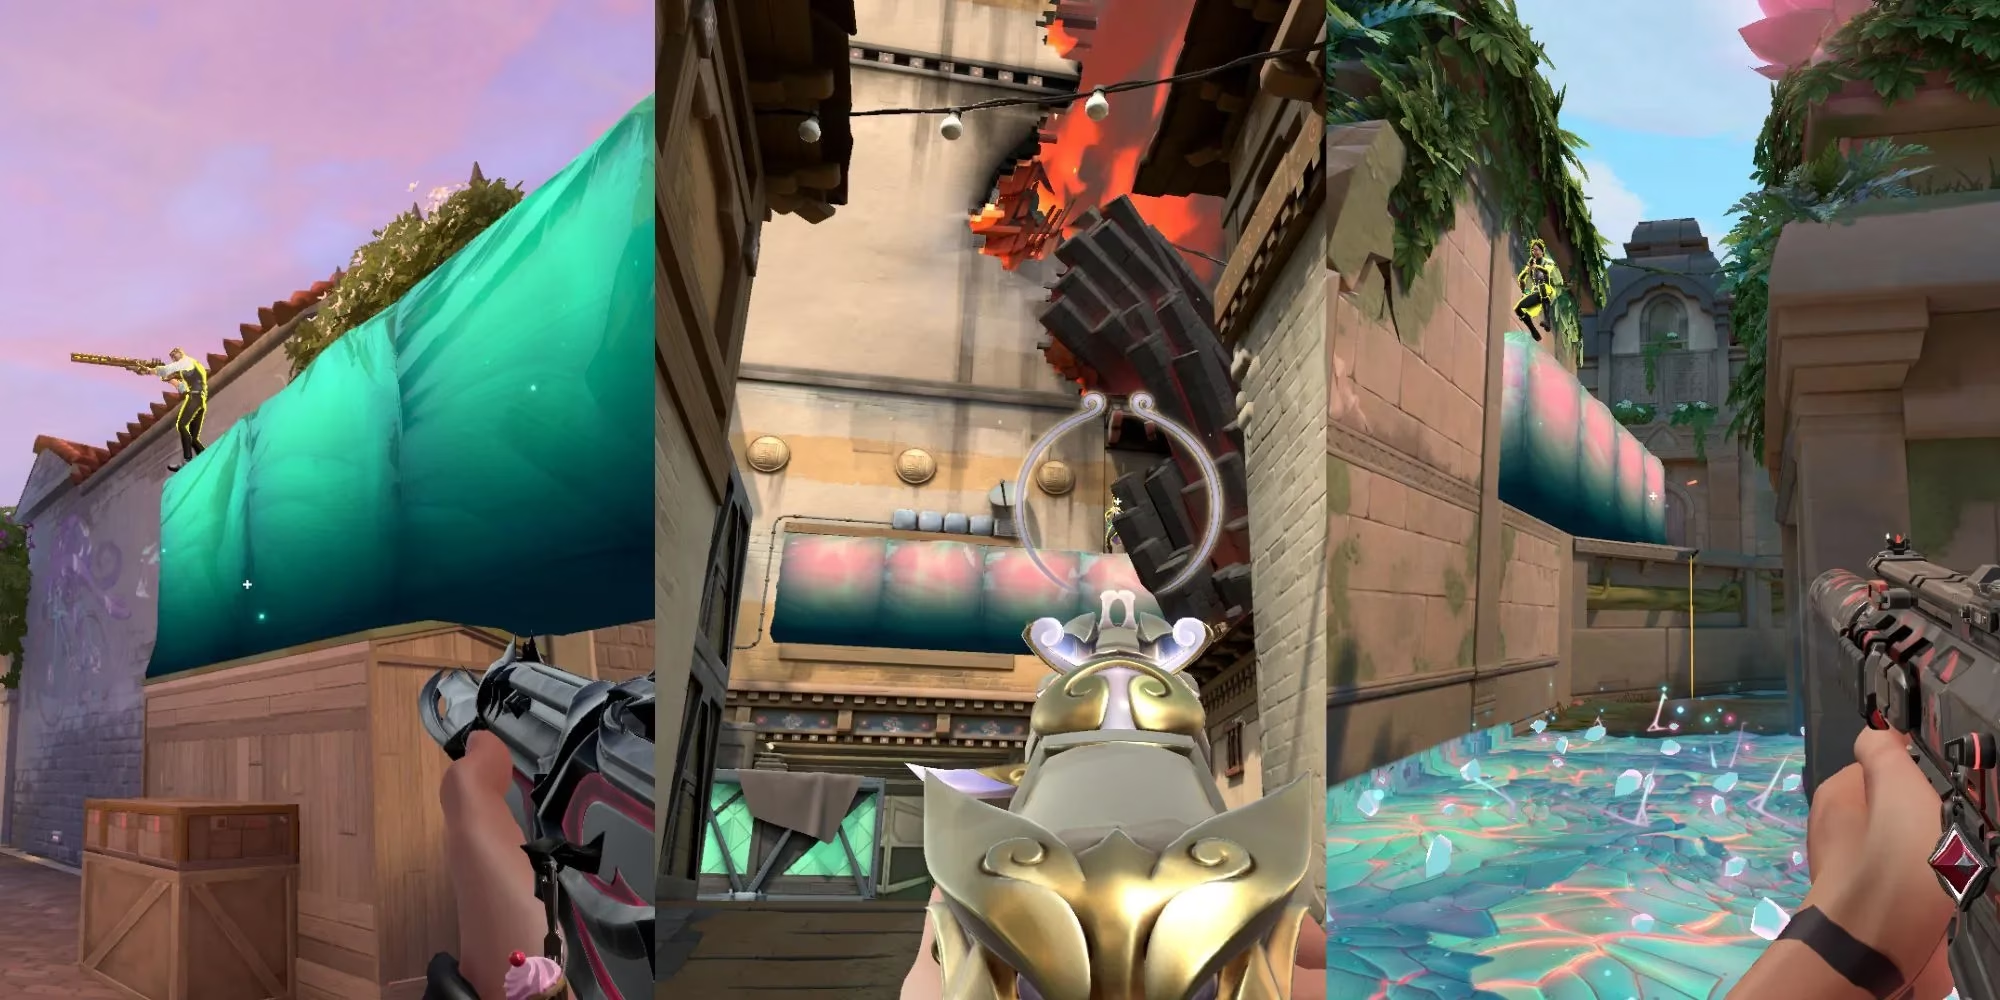
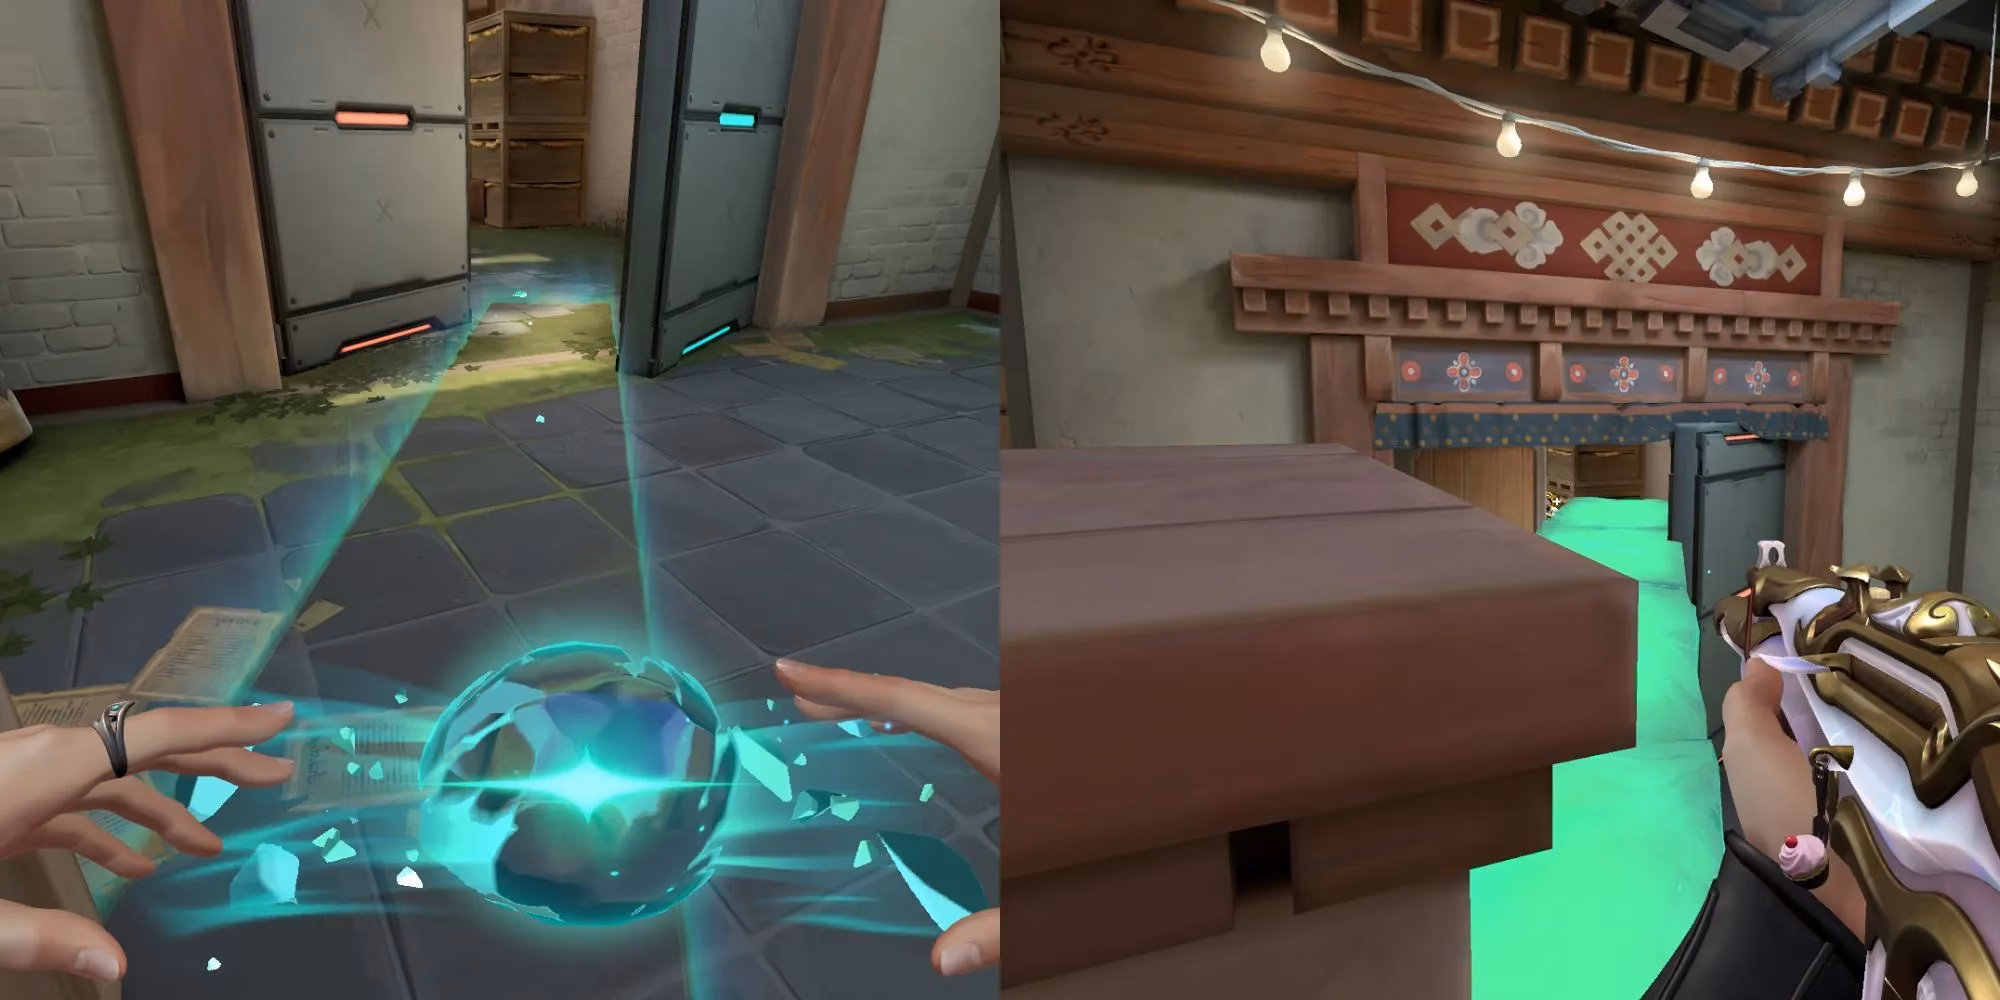
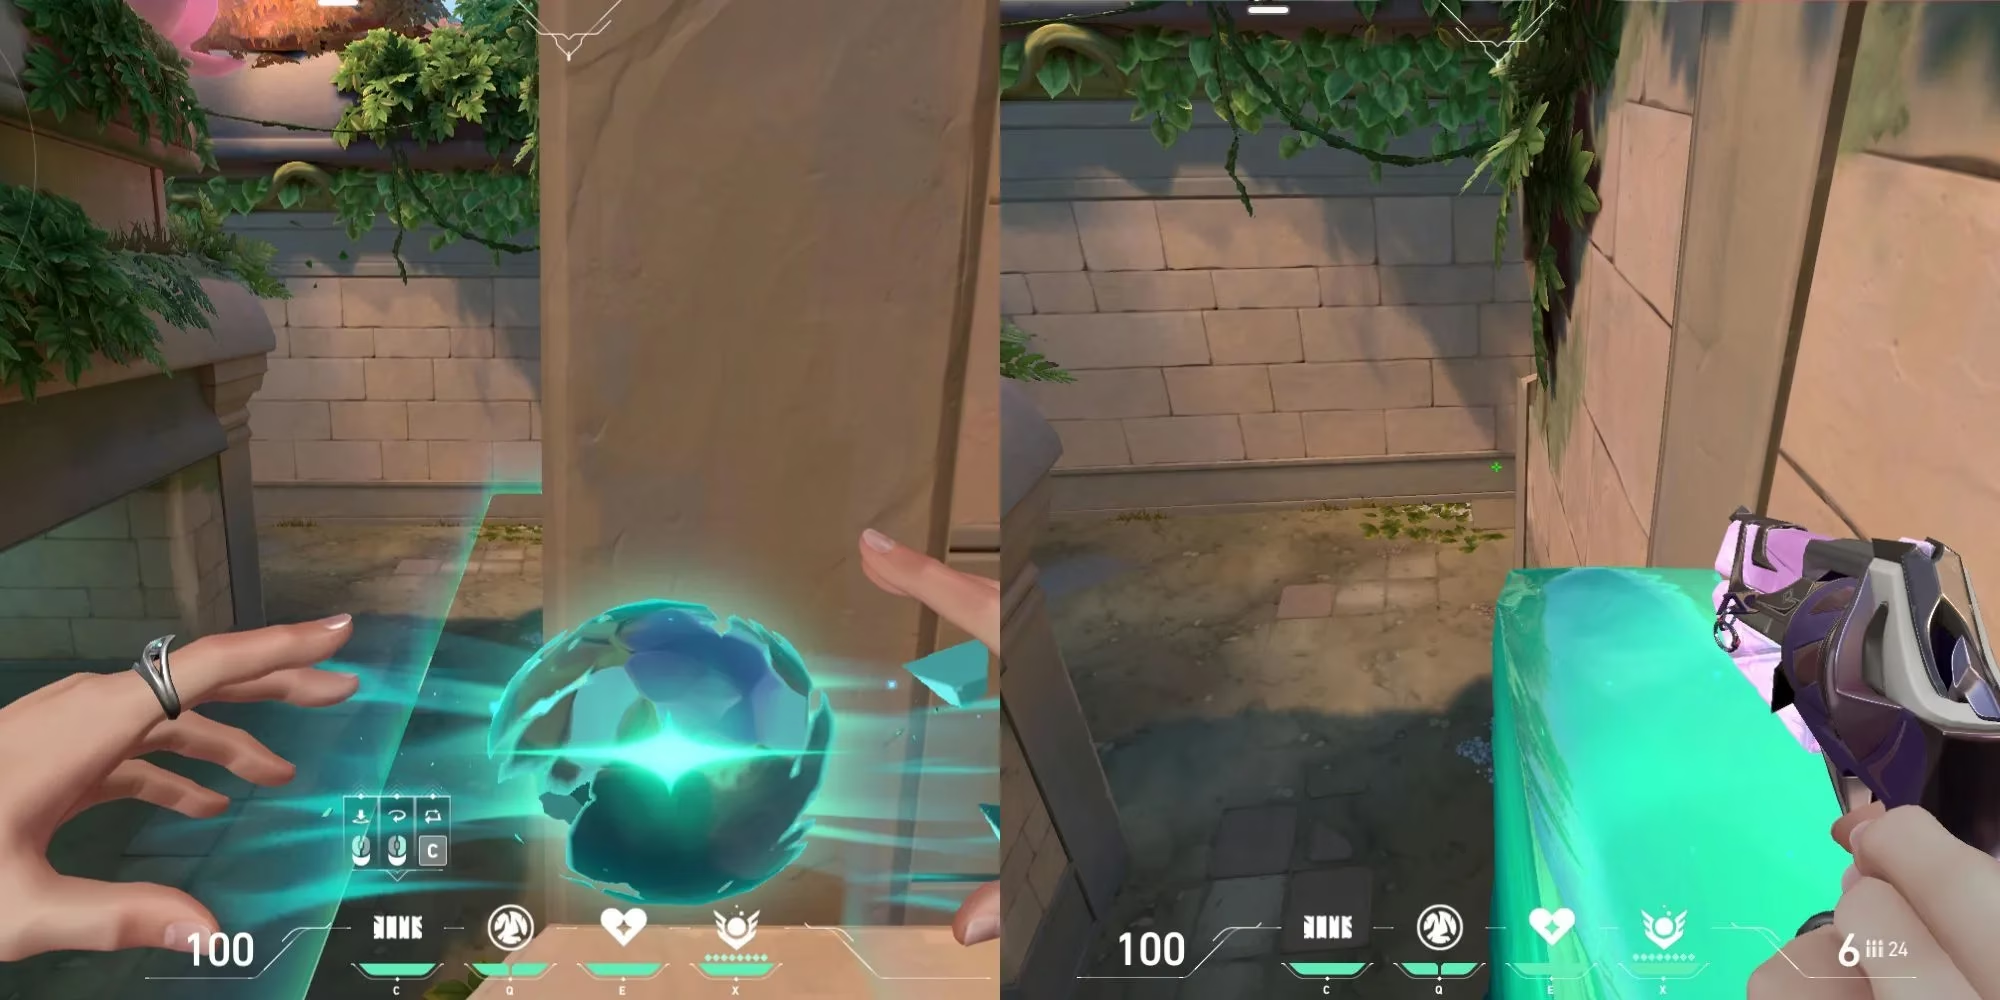
Ascent remains a fan-favorite map for its balanced design, and Sage thrives here with two exceptional boosts. The classic B Main boost is a must-know for any aspiring Sage main. I position myself on the boxes where the orb spawns and cast the wall vertically to create a platform. This simple action grants me and my team a critical height advantage, peering through the window into B Site. The sightlines from here are phenomenal, covering:
-
The entire B Site plant area
-
The entrance to Market
-
A sliver of Defender's Spawn for early rotations
This position is perfect for gathering early intel or securing an easy pick on an unsuspecting attacker. For a more aggressive defensive play, I love the Market boost. By standing on the small boxes inside Market and placing the wall on the ledge facing Mid, I gain a clear shot into Top Mid and parts of the courtyard. This off-angle is incredibly difficult for attackers to pre-aim, making it perfect for holding with an Operator or a vandal.
Bind: Controlling High-Traffic Chokepoints
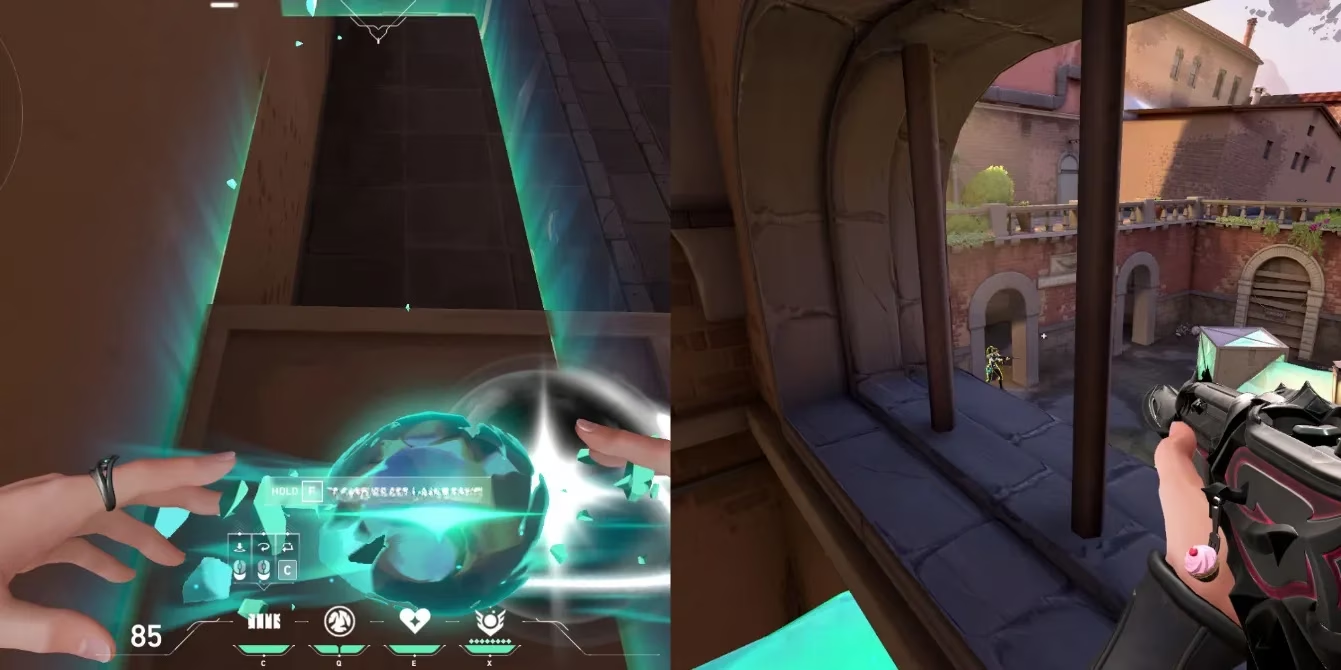
Bind's tight corridors and teleporters make map control essential. My go-to defensive trick involves the B Window. The key here is timing: I stand in the center of the window ledge, look down, and as the round starts, I combine a jump and crouch while casting the wall. This prevents it from breaking and boosts me into a sneaky perch. From here, I can watch both Hookah and B Long, effectively shutting down two major entry points single-handedly. It's a high-risk, high-reward play that requires practice but pays dividends.
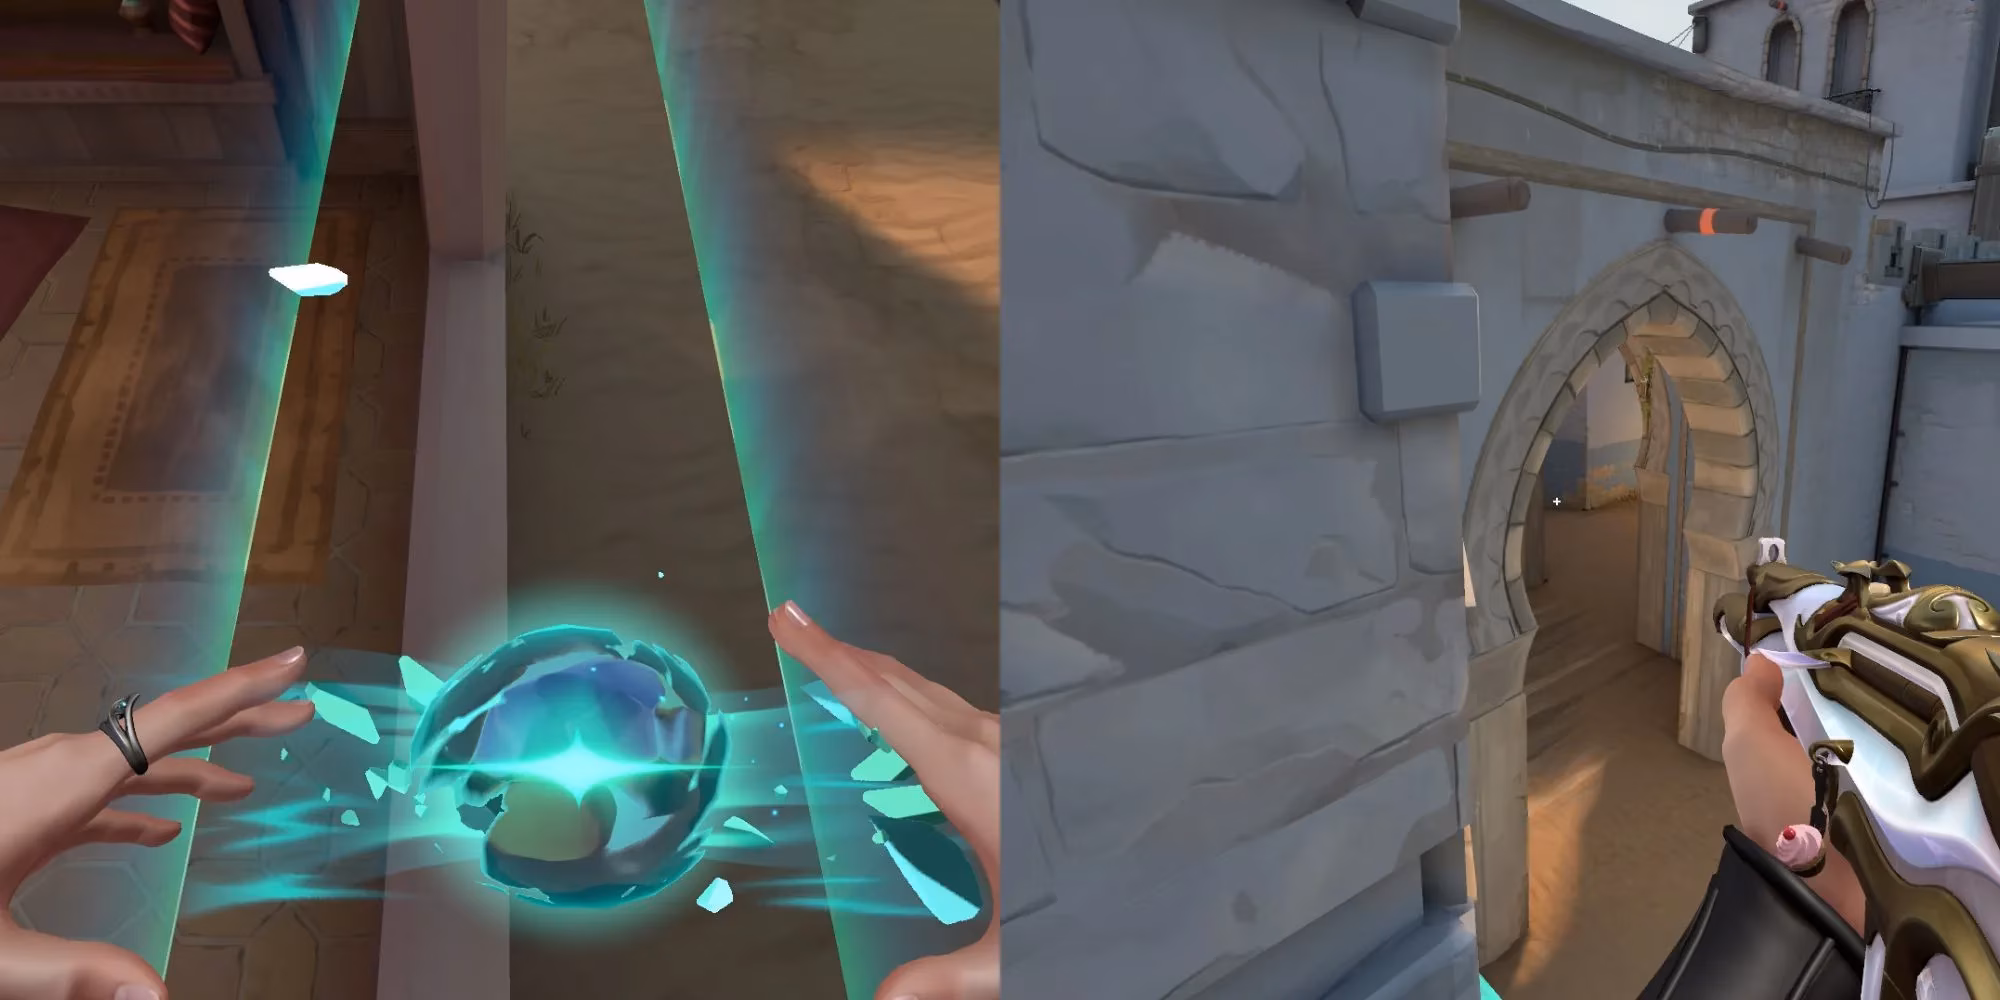
Another fantastic spot on Bind is within A Showers. Jumping onto the box near the entrance, I time another jump-crouch combo as I deploy the wall, using its formation to boost myself onto the top box. This creates a nearly invisible defensive position that overlooks the entire showers entrance. Attackers rarely check this angle, allowing for easy multikills if they push blindly.
Sunset: New Map, New Opportunities
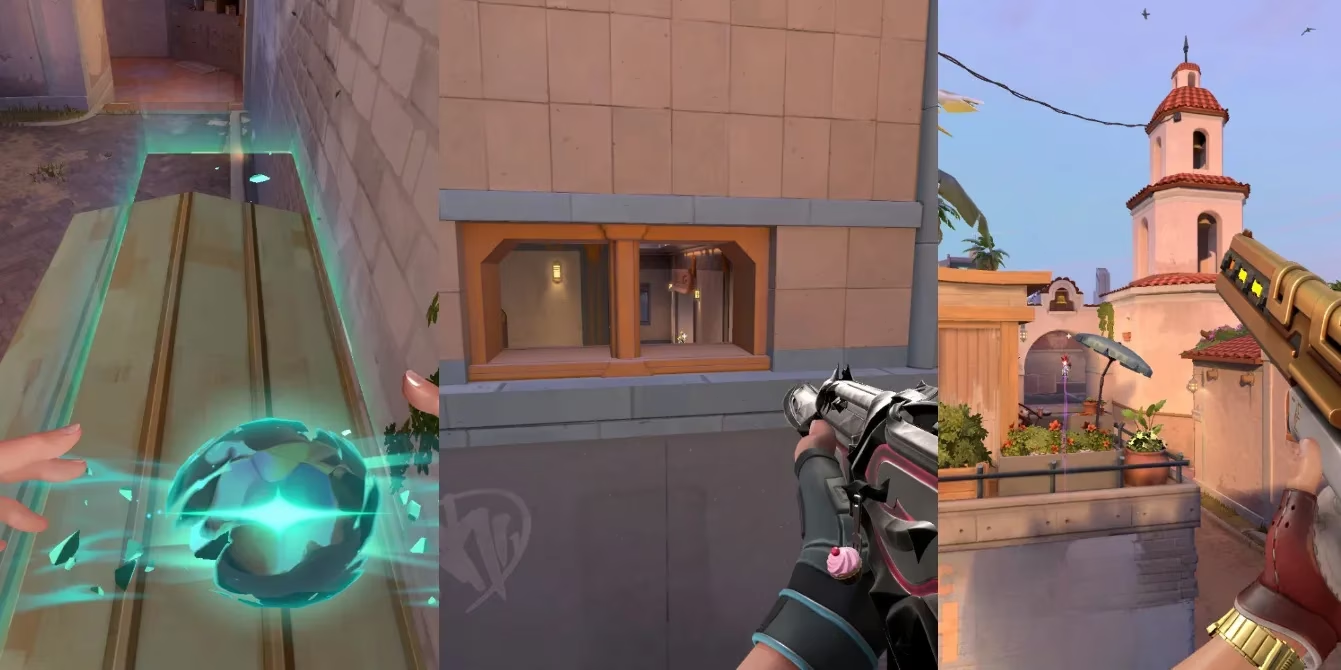
Since its introduction, Sunset has become a playground for creative Sage plays. One of my favorite aggressive boosts is at the bottom of Mid. I jump on the box there and place my wall horizontally. This single placement unlocks two powerful angles simultaneously:
-
A view into B Main, perfect for spotting defenders pushing out.
-
A clear line of sight to Top Mid, an ideal perch for an Operator user to dominate the central lane.
This boost is particularly effective on attack, as it allows my team to safely clear two critical areas before executing onto a site. The element of surprise is almost guaranteed, as few players expect a Sage to hold such an aggressive, elevated position from Mid.
Haven: A Treasure Trove of Boost Spots
Haven, with its three sites, offers Sage players a wealth of options. The Back Site B boost is beautifully simple yet devastatingly effective. I place my wall on the platform at Back Site and stand on it as it forms. Boosting up gives me the perfect angle to hold Mid Window; only my head is visible to enemies peeking, giving me a massive dueling advantage. It's a consistent and reliable way to shut down a common attacker path.
For Garage control, I deploy the barrier between the Garage doors while standing on it. This allows me to jump onto the box behind for cover or use the wall itself as protection. From this elevated spot, I gain an unexpected angle on anyone pushing through Mid Doors. It's a dual-purpose wall that blocks entry and provides a lethal off-angle.
Perhaps the most technically demanding but rewarding wall on Haven is the A Heaven boost. During the buy phase, I go to A Heaven, stand on the window ledge, look down, and cast the wall across the window with precision. I must crouch and move right as it forms to avoid breakage. The result? An astronomically high vantage point that overlooks both A Long and Short. Attackers pushing these lanes are completely exposed, allowing for easy picks and stalling their push entirely.
Split & Lotus: Breaking Defensive Routines
On Split, to avoid the monotony of walling Mid every round, I've adopted a more aggressive A Heaven play. Walking from A Heaven onto Rafters, I deploy my Barrier Orb diagonally. This creates a high perch to engage attackers pushing through A Main. The angle is unconventional and forces enemies to look up while dealing with other threats, often leading to free kills.
Lotus presents a unique opportunity on A Site. Starting on A Top, I place my wall straight ahead to create a ledge. This boost provides an incredibly unpredictable off-angle that shocks attackers entering the site. The beauty of this wall is its versatility; it's equally potent on defense or, if I'm playing attack, can be used post-plant. In an attacking scenario, I coordinate with my team to hold complementary angles while I use this boost to cover the spike from an elevated, unexpected position.
Mastering the Mechanics: Tips for Success
Executing these boosts consistently requires more than just knowing the spots. Here are the core mechanics I've honed over the years:
-
The Jump-Crouch Combo: Essential for window and ledge boosts (like Bind B Window or Haven A Heaven). Practice the timing in the Range or a custom game until it's muscle memory.
-
Wall Placement Precision: Always ensure you're aiming at the correct surface. A misaligned wall won't form properly and will waste a crucial cooldown.
-
Communication is Key: 🗣️ Tell your team when you're setting up a boost. They can play off the intel you gather or cover the angles you can't see.
-
Adaptability: Don't use the same boost every round. Predictability is your biggest enemy. Mix up your positions to keep the opponents guessing.
In the ever-evolving landscape of Valorant, mastering Sage's Barrier Orb is about embracing creativity and aggression. These wall boosts have transformed my gameplay, allowing me to provide unparalleled value to my team beyond just healing and reviving. They turn standard defensive holds into proactive plays and create opportunities where the enemy least expects them. So, next time you lock in Sage, think beyond the heal orb. Think vertically, think strategically, and use that wall to claim the high ground—and the victory. The meta in 2026 rewards boldness, and there's no tool bolder than a perfectly placed Sage barrier.